Working with Game Data
Once the schema is in place, the next step is to work with the records created from it.
The Data view is where you create, edit, and manage actual records for every Entity in the project. If the schema defines the structure, the Data view is where that structure is filled with real values.
Schema and data work together
Schema and data serve different roles, but neither is useful without the other.
Schema defines what can exist — which Entities are available, which fields they contain, which values those fields can store, and how objects relate to one another through Relationship and Inclusion fields.
Data contains the actual records created from that structure. The fields available in a record, the values they accept, and the overall shape of the form are all determined by the schema.
Schema defines the structure. Data stores the actual values entered according to that structure. A change to the schema affects how existing and future records look and behave.
Open the Data view
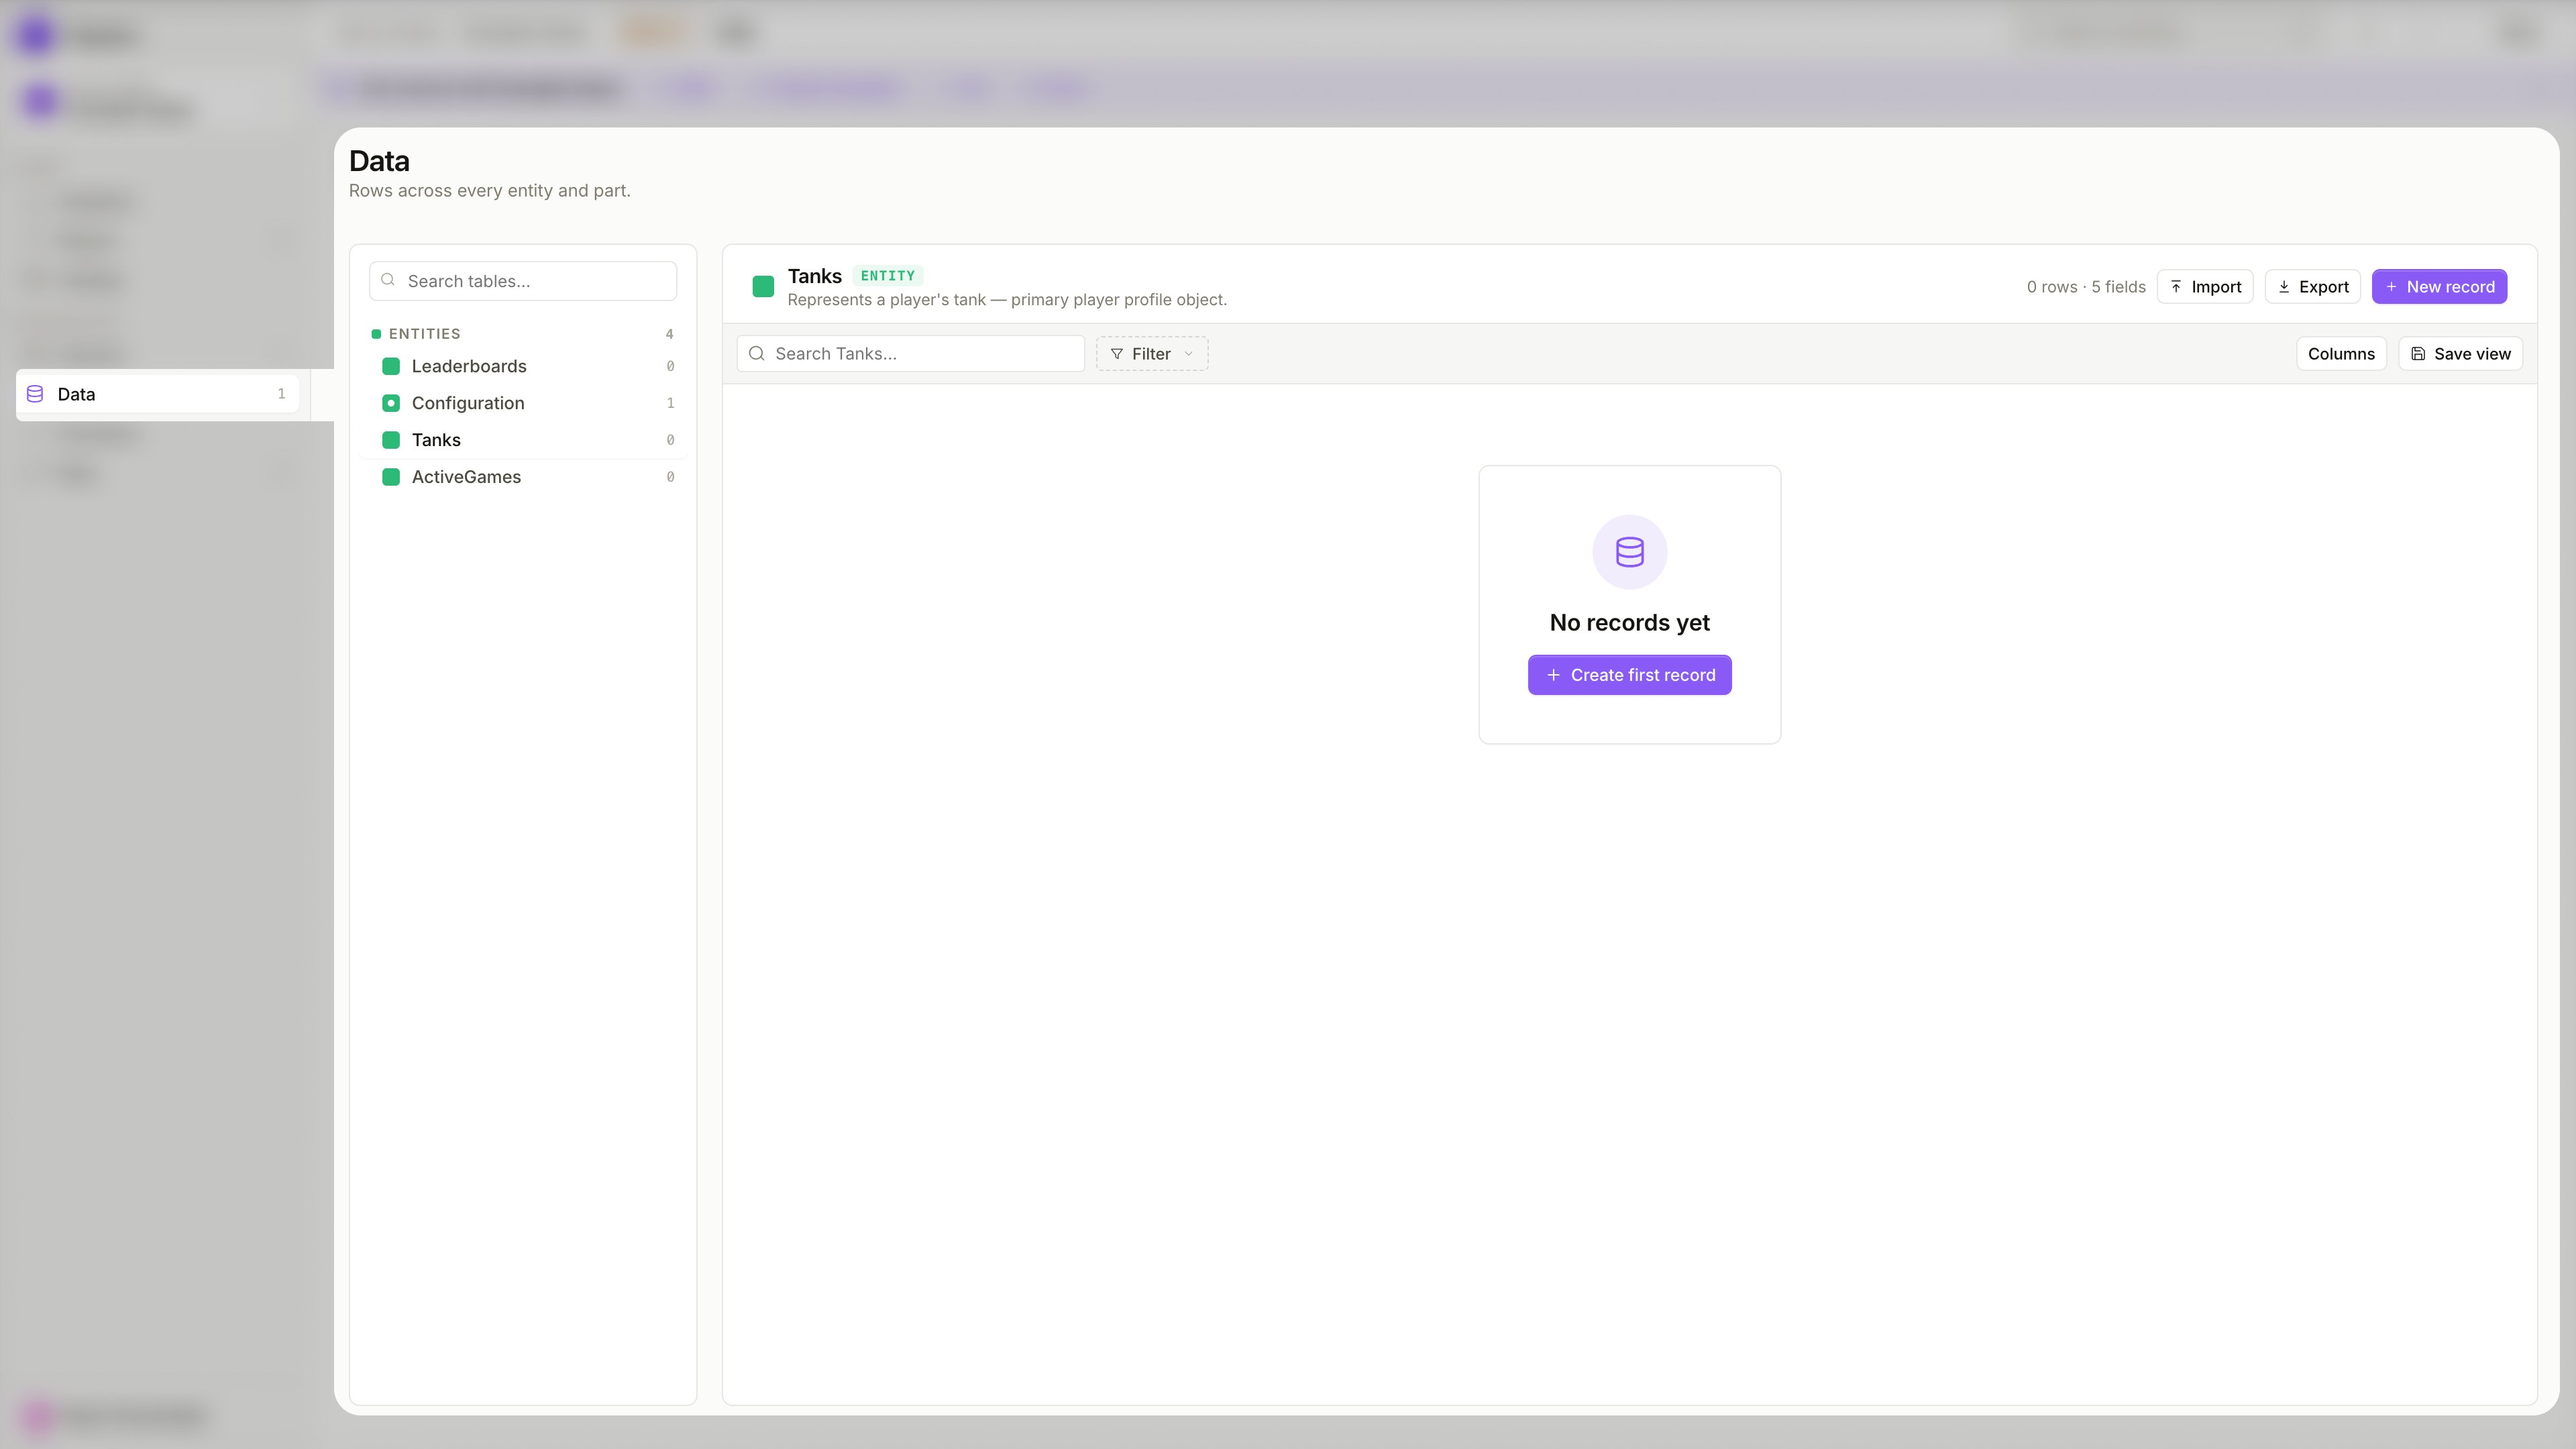
Data is a separate section in the project sidebar. Open it to see all Entities listed on the left — each Entity shows how many records it currently has.
Select an Entity from the sidebar to open its record table. If no records exist yet, the view shows an empty state with a Create first record button.
If the record structure feels confusing in the Data view, the problem is usually in the schema design — not in the records themselves. Revisit the schema to simplify the structure.
Create a record
To add a new record, click + New record in the top right, or + Create first record in the empty state.
The record form is generated directly from the schema:
- available fields come from the Entity definition
- field types follow the schema configuration
- Enum reference fields show a dropdown of allowed values
- Inclusion fields appear as grouped sections, one per included Part
- Relationship fields link to existing records of the target Entity
- Required constraints are enforced on save
You do not design the record form separately. The form is derived from the schema — add or change fields in the Schema view to update what appears here.
Edit a record
Click any row in the record table to open the record panel on the right.
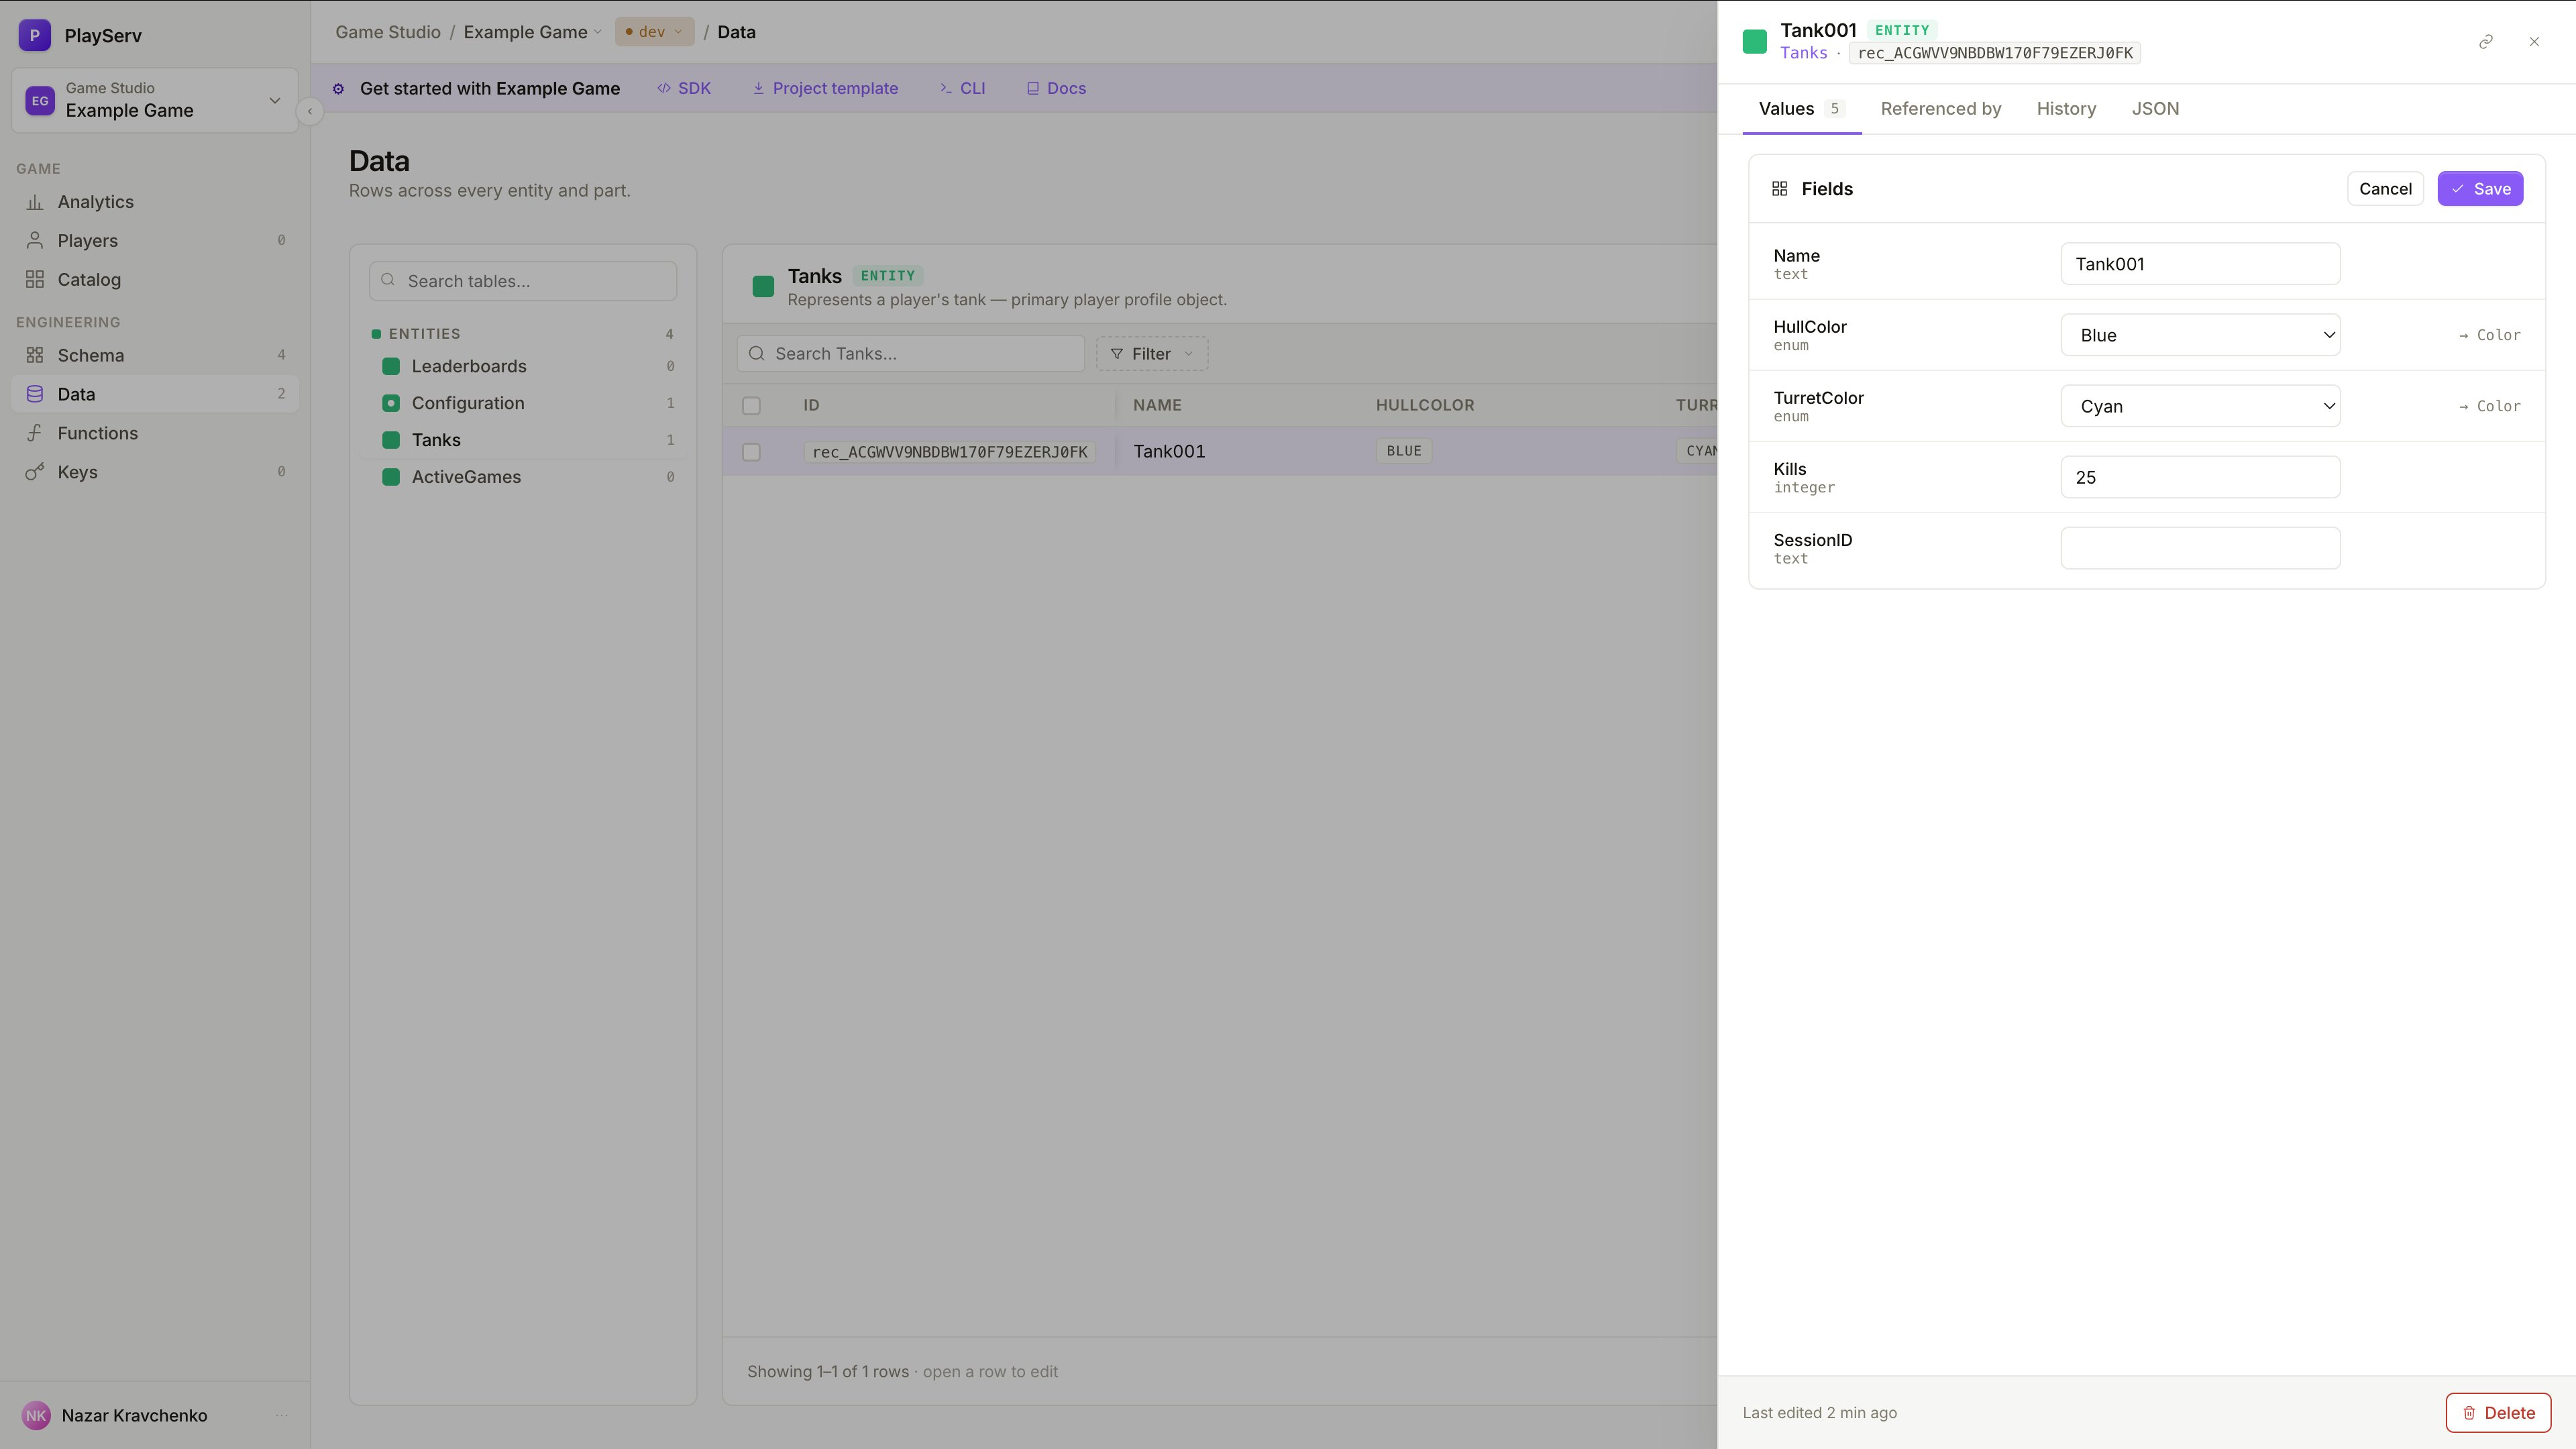
The panel has four tabs:
- Values — edit the record's field values directly
- Referenced by — shows which other records point to this one via Relationship fields
- History — a log of changes made to this record over time
- JSON — the raw JSON representation of the record
Edit the values and click Save to apply changes. To remove the record entirely, click Delete at the bottom of the panel.
Singleton records
If an Entity is marked as Singleton, the Data view behaves differently — instead of a table of many records, it shows a single editable form.
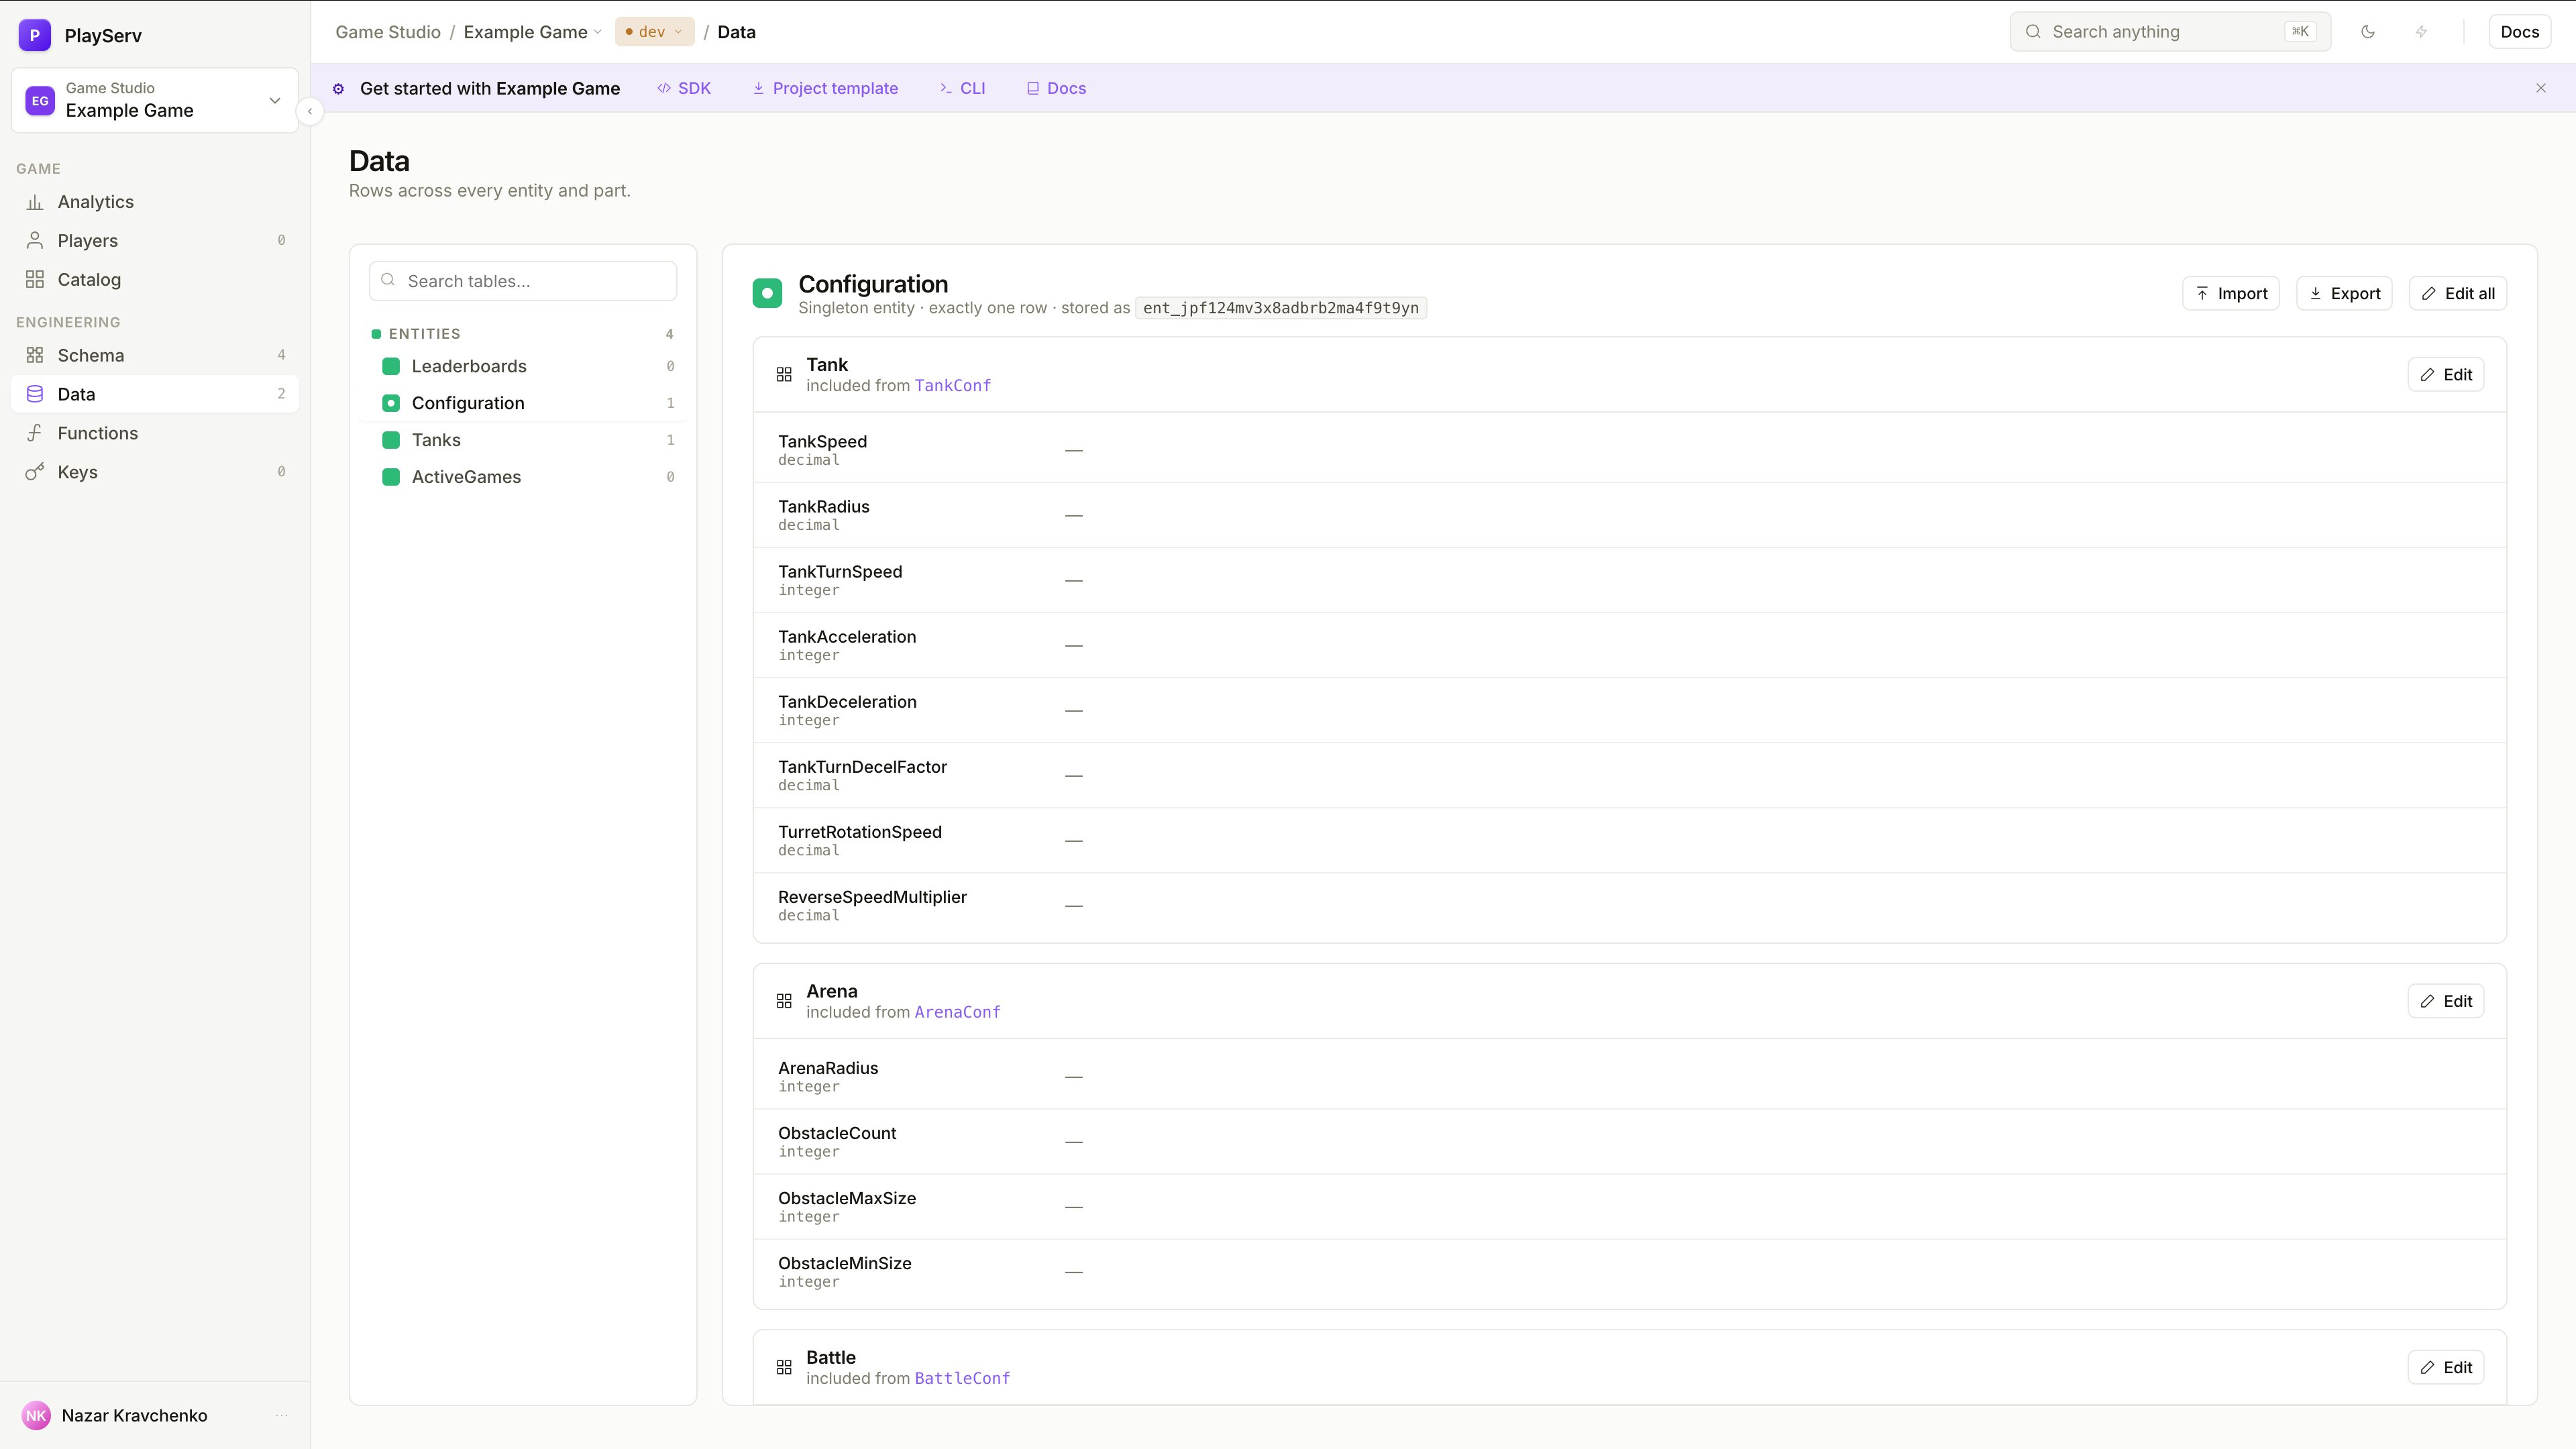
Singleton records show fields grouped by their Inclusion source — each included Part appears as a named section with an Edit button. This makes it easy to navigate large configuration objects assembled from multiple Parts.
To edit a section, click Edit next to the Part name. Changes are saved per section.
How field kinds affect the Data view
The way a record looks and behaves depends on the field kinds defined in the schema.
The data experience is a direct result of schema decisions. Clean schema design leads to simpler, clearer record forms.
Import records
To add multiple records at once, click Import in the top right of the Data view. You can drag and drop a file directly or browse to select one.
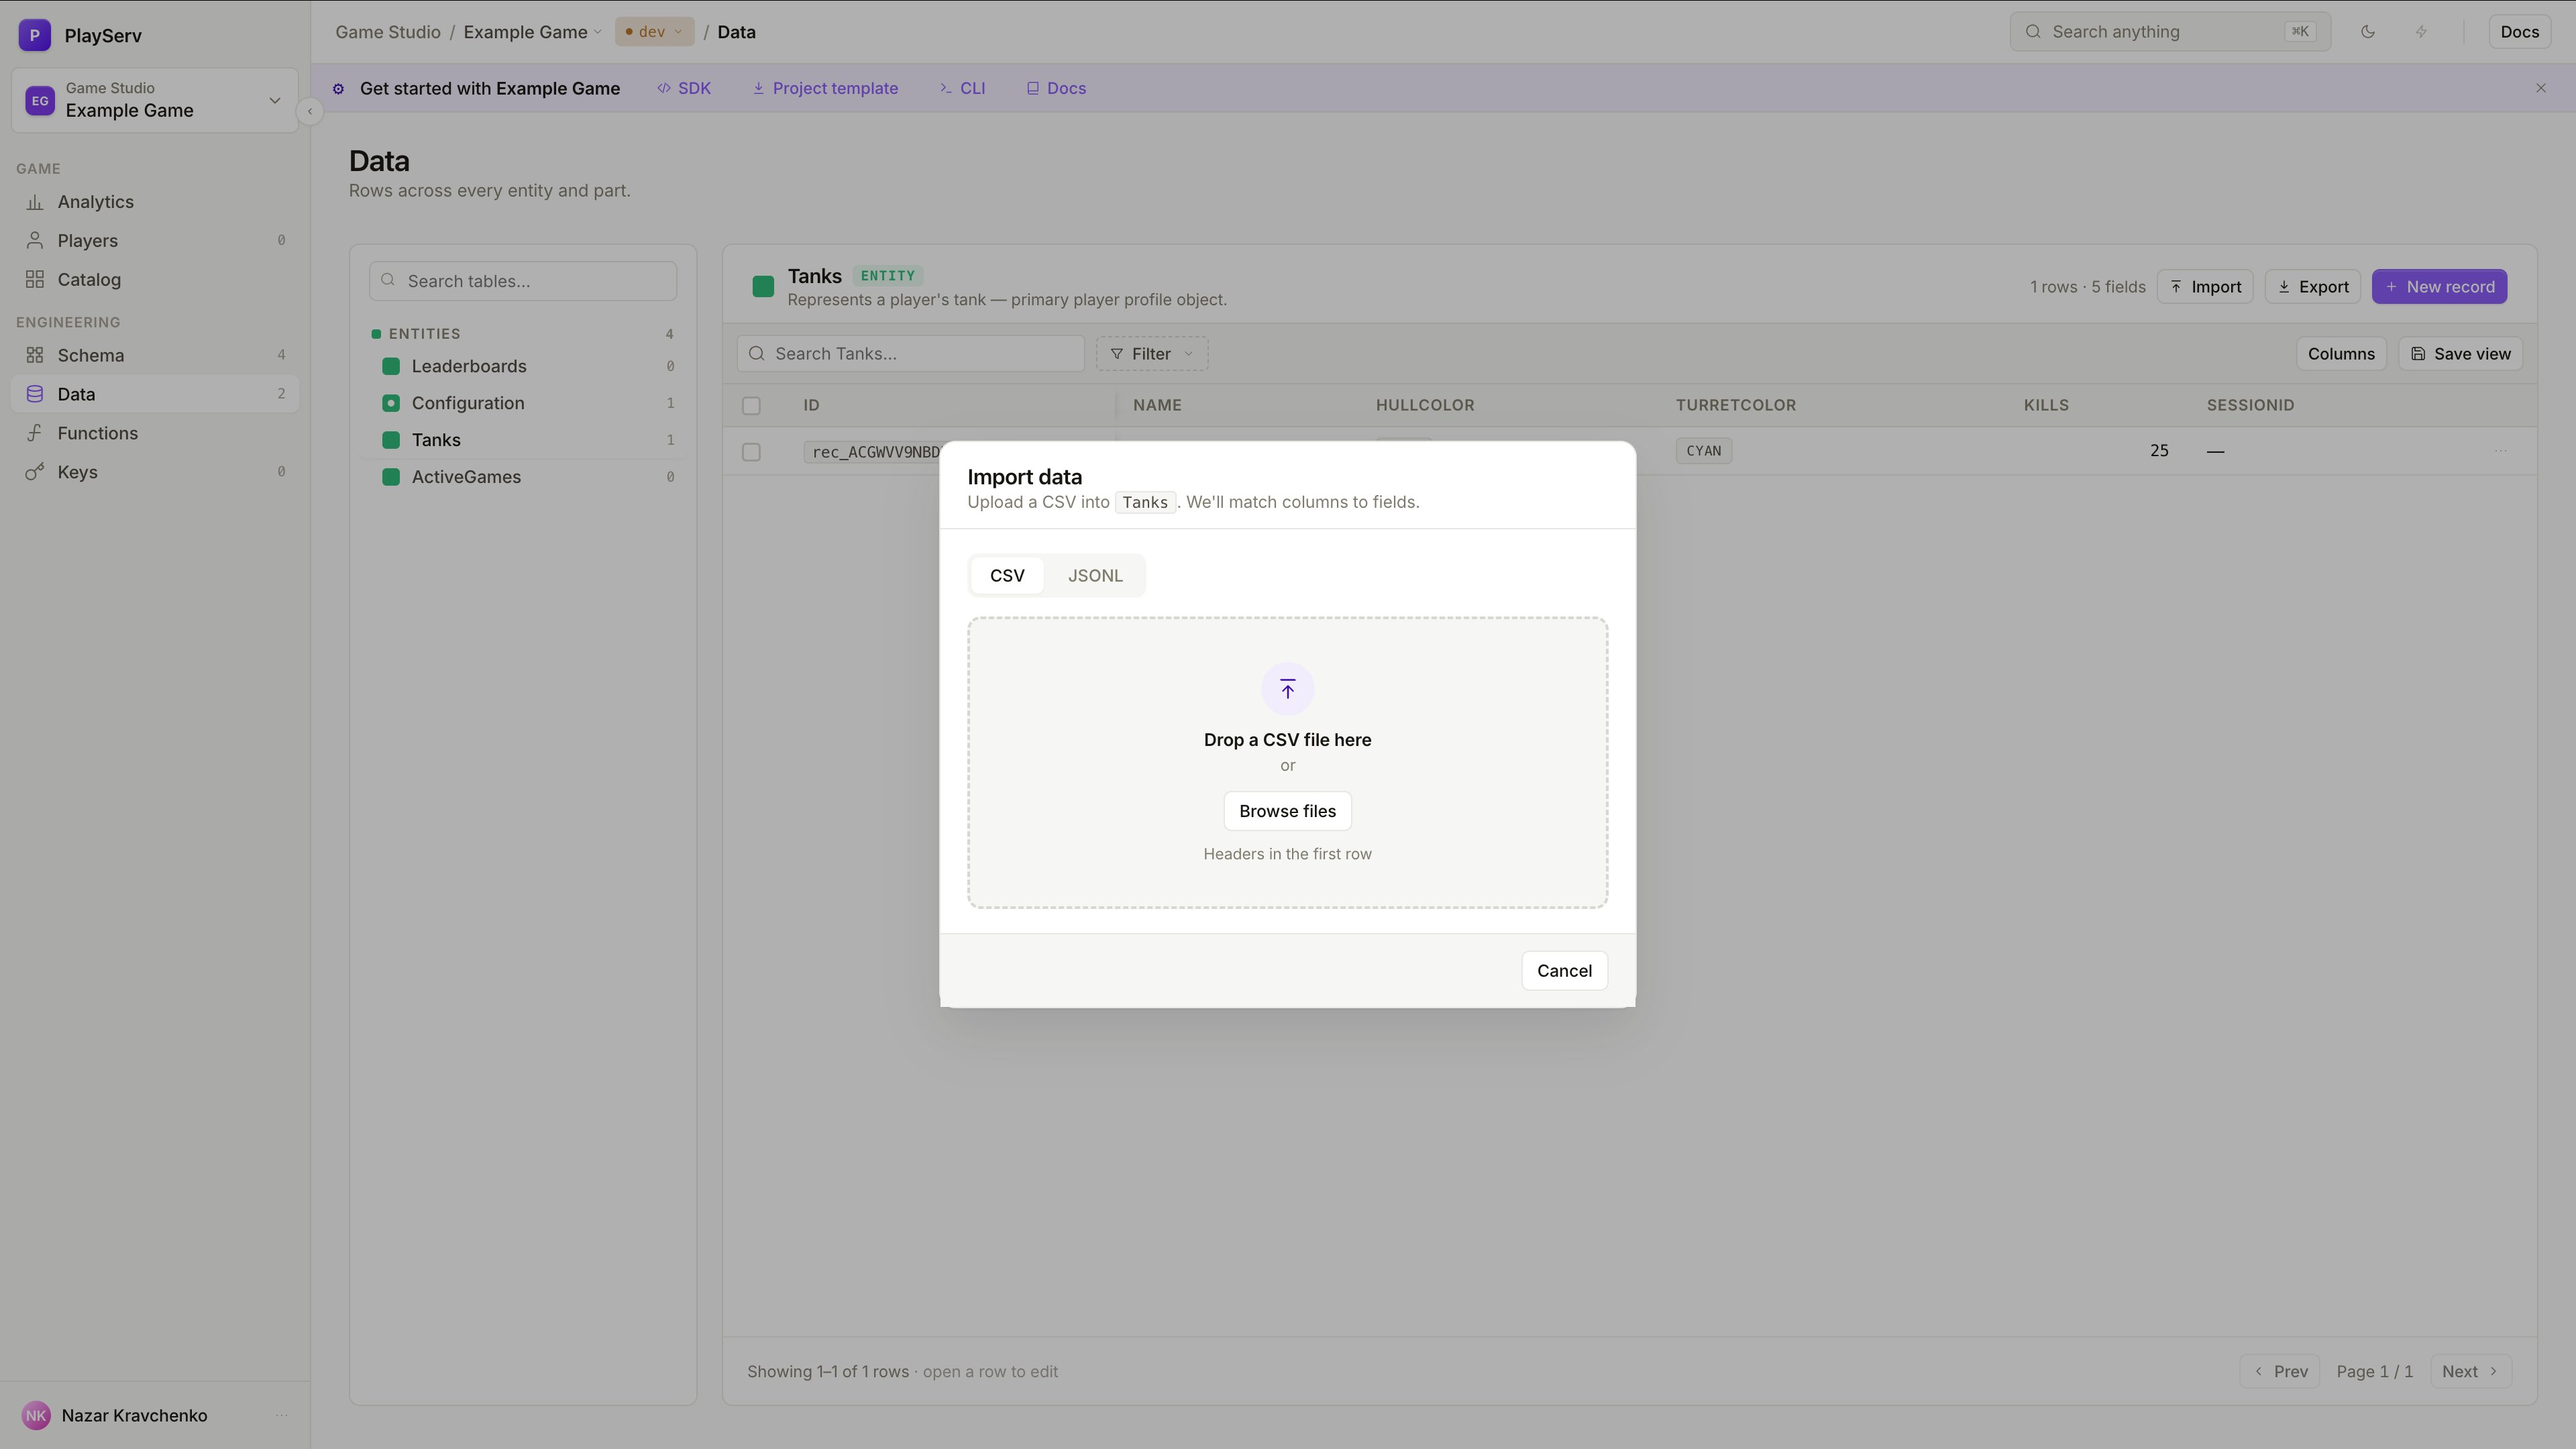
The import dialog supports two formats — switch between them using the tabs at the top.
Imported data must match the schema:
- field names must match the Entity definition
- values must follow the correct field types
- Enum reference fields must use allowed values
- Required fields must be present
- Inclusion and Relationship fields must follow the expected structure
Import adds records — it does not replace the schema or existing records.
- CSV
- JSONL
Use CSV when the data is flat and easy to represent in rows and columns. Each row becomes one record. The first row must contain column headers matching the field names in the schema.
Best for simple Entities with mostly Primitive fields — a tank roster, a leaderboard snapshot, a list of configuration values.
Use JSONL (JSON Lines) when the data includes nested structure. Each line in the file is a separate JSON object representing one record. JSONL maps naturally to Entities that use Inclusion fields — nested Parts appear as nested objects within each line.
Best for complex Entities where flat CSV cannot represent the full structure — for example, a Configuration entity with multiple included Parts each containing their own fields.
If the Entity contains Inclusion fields or deeply nested structure, JSONL is the right choice. If the Entity is mostly flat Primitive fields, CSV is simpler to prepare.
Export records
Click Export in the top right to download the current record table.
The export reflects the current view — use Filter to narrow down which records are included, and Columns to control which fields appear in the export.
Export is useful when you need to:
- back up the current state of a data table before making bulk changes
- share game configuration with team members who work outside the Backoffice
- migrate records between projects or environments
- inspect the raw data in a spreadsheet or external tool
- use the exported JSONL as a template for preparing a new import file with updated values
Next step
Once records can be created and edited successfully, the next step is to review how changes are saved, tracked, and published.